When I first moved into my apartment, I didn’t think much about curtains. I bought a few standard rods and hung the panels as best as I could. But the results were… underwhelming.
The curtains looked off-center, the rods didn’t feel sturdy, and the overall vibe of the room lacked polish. That’s when I realized: how you hang your curtains can completely transform a space.
Curtains are more than functional items — they frame your windows, control light, enhance privacy, and contribute to your room’s style.
Whether you’re aiming for a cozy bedroom, a modern living room, or a bright kitchen, the way you hang curtains affects perception, proportion, and ambiance.
Over the years, I’ve experimented with different curtain rods, heights, and styles, and I’ve learned some simple tricks that make any room look intentional, polished, and professionally styled — without spending a fortune.
In this guide, I’ll walk you through everything from choosing the right rod and fabric to installing and styling your curtains like a pro. By the end, you’ll know exactly how to hang curtains so that your windows become a statement feature of your home.
1. Choosing the Right Curtain Rod (Expanded)
When I first started hanging curtains, I underestimated how much the rod itself influences the overall look of the room.
A flimsy, mismatched rod can make even the most luxurious curtains feel cheap, while a well-chosen rod adds elegance, structure, and style.
How to Choose the Right Rod
- Measure Your Window Width: Start by measuring the window, then add 6–12 inches on each side. Extending the rod makes the window appear larger and allows the curtains to fully open, maximizing light.
- Material and Finish: Choose a rod that complements the room style — wood for a cozy, rustic vibe; brushed nickel or chrome for modern interiors; matte black for industrial or contemporary styles; or gold/brass for a touch of glamour.
- Strength and Support: If your curtains are heavy fabrics like velvet or lined panels, invest in a sturdier rod with wall anchors or brackets that can support the weight without sagging.
Pro Tips
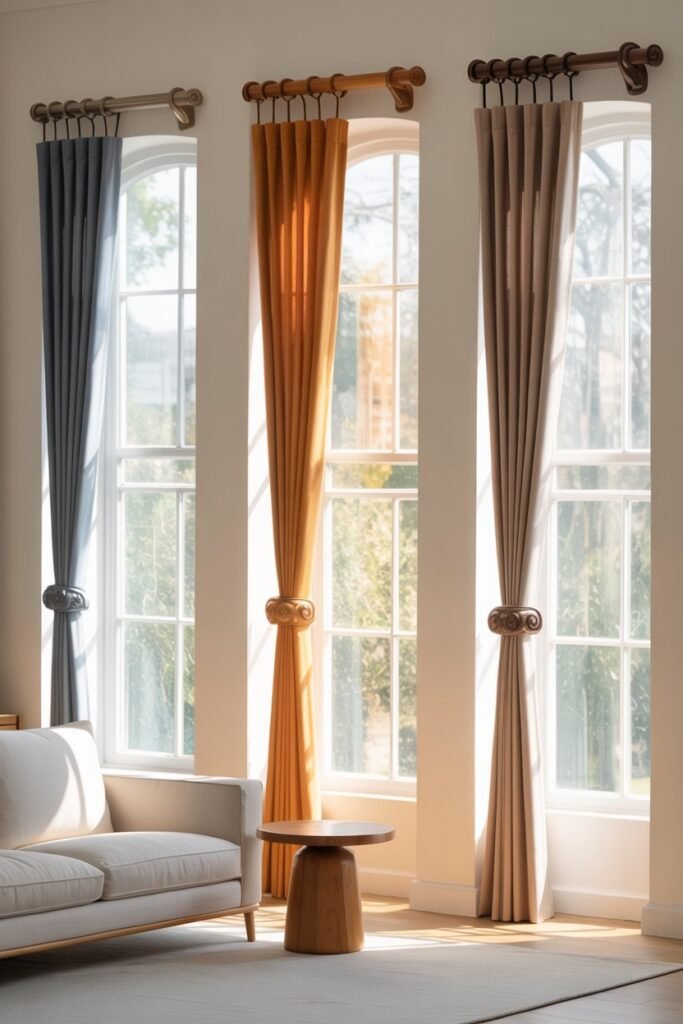
- Decorative finials at the ends of rods act as mini-design statements, adding elegance without overpowering the window.
- Adjustable rods give you flexibility if you switch curtains or move them to different rooms.
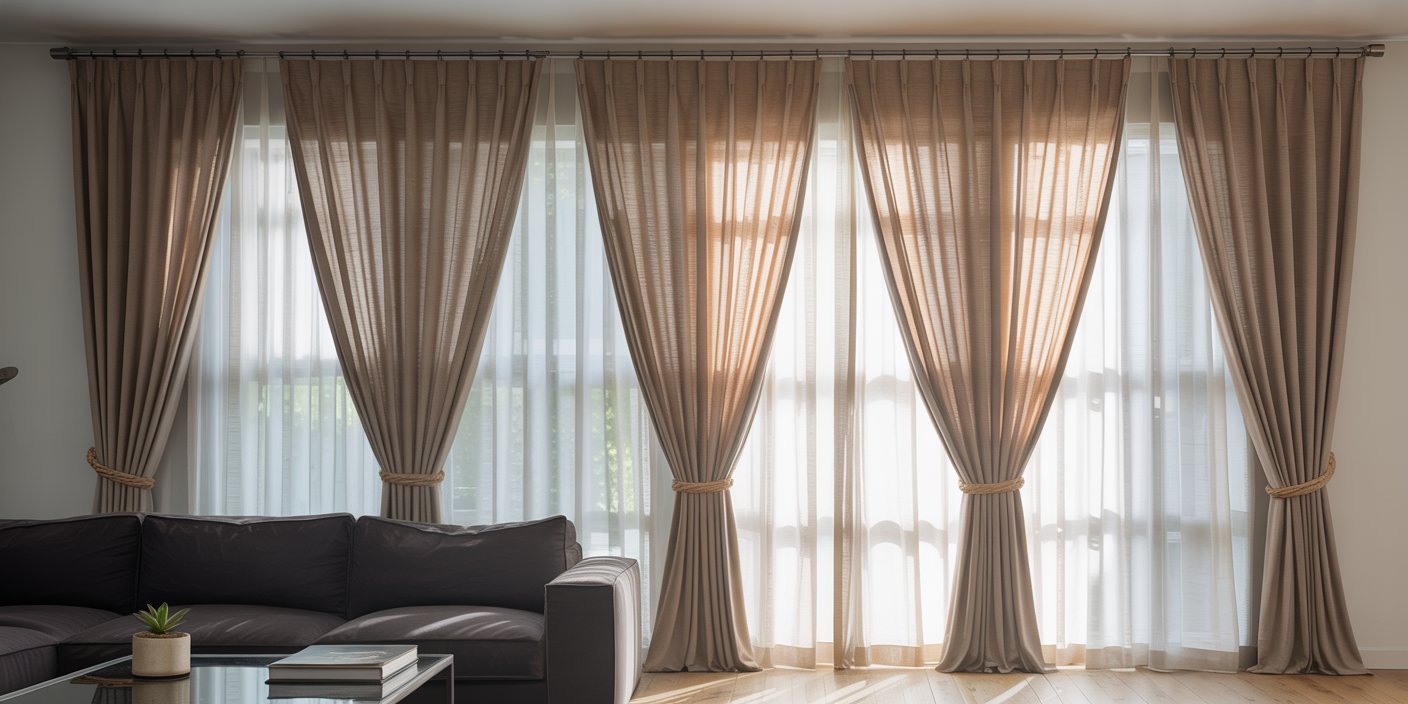
- For wide windows, consider a double rod setup to layer sheer and opaque curtains — it adds depth and practicality.
Example: I installed a brushed gold rod in my living room and extended it 10 inches past the window frame on each side. The result? The curtains looked expansive, elegant, and the room immediately felt more sophisticated and inviting.
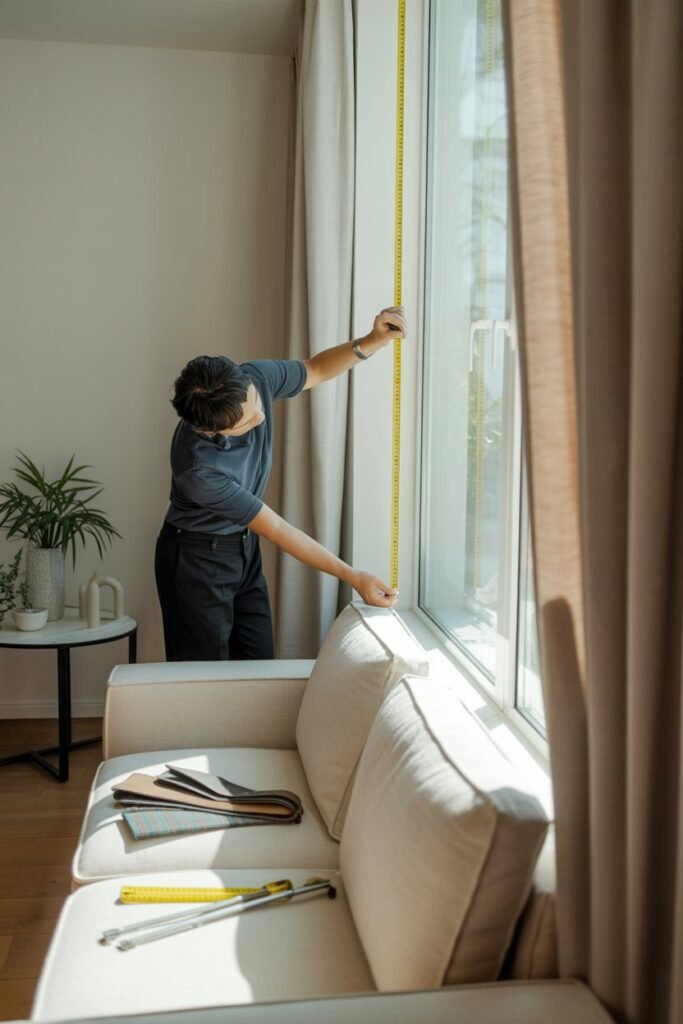
2. Measuring for Curtain Height and Width (Expanded)
Accurate measurements are essential for curtains to look professional and proportional. I’ve hung curtains that were just a few inches too short — and the effect was jarring.
Conversely, curtains that graze the floor or puddle slightly add drama and elegance, especially in bedrooms and living rooms.
How to Measure Curtain Height
- Measure from the top of the rod to the floor. For a polished look, curtains should barely touch the floor or puddle slightly if you want a luxurious feel.
- Avoid letting curtains float above the floor, which makes the room look unfinished.
How to Measure Curtain Width
- Curtains should be 1.5 to 3 times the width of the window. More fullness creates a plush, intentional look, while too little width makes curtains appear thin or skimpy.
- Divide wide windows into multiple panels, rather than a single oversized curtain, for easier handling and a balanced look.
Pro Tips
- Hang the rod 4–6 inches above the window frame to make ceilings appear taller and rooms more airy.
- When using sheer panels, layer them under heavier curtains. This allows light filtering while maintaining privacy, adding versatility and depth.
- Always measure twice and cut once — this prevents costly mistakes and ensures a clean, cohesive finish.
Example: In my bedroom, I hung curtains 4 inches above the window frame and allowed them to graze the floor. It created an airy, elevated effect and made the room feel larger than it actually is.
3. Selecting the Right Curtain Style and Fabric (Expanded)
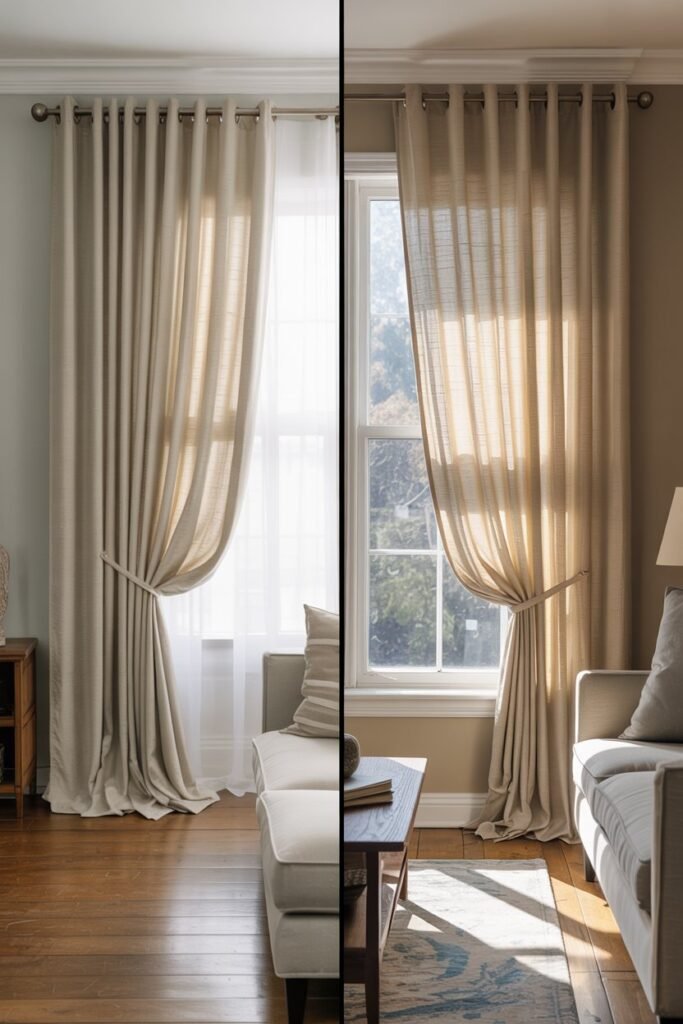
Curtain style and fabric set the tone, personality, and function of your room. Over the years, I’ve experimented with rod-pocket, grommet, pinch-pleat, and tab-top curtains, each creating a distinct vibe.

Choosing the right style transforms a room from functional to visually curated and intentional.
Curtain Styles
- Rod-Pocket: Simple, soft, and casual. Works best with lightweight fabrics like cotton or linen.
- Grommet: Modern, sleek, and easy to slide. Suitable for medium-weight fabrics and contemporary spaces.
- Pinch-Pleat: Structured and classic, ideal for traditional or formal interiors. Provides a tailored, elegant drape.
- Tab-Top: Relaxed and versatile, perfect for informal rooms or small spaces. Offers a playful, casual charm.
Choosing Fabric
- Heavy Fabrics: Velvet, thick linen, or blackout materials provide privacy, insulation, and luxury. Ensure the rod can support the weight.
- Lightweight Fabrics: Cotton, voile, or sheers create an airy, bright feel, perfect for layered looks or small spaces.
- Pattern and Texture: Subtle textures or prints add dimension and sophistication. Even solid colors benefit from textured weaves for a richer, layered look.
Pro Tips
- Coordinate curtain color with walls, accent colors, and furniture to maintain harmony.
- For high-traffic rooms like the living room, choose fabrics that are easy to clean and durable.
- Mix textures (linen curtains with velvet pillows, for instance) to create visual depth without complicating the color scheme.
Example: In my living room, I paired charcoal grommet curtains with neutral walls and patterned throw pillows. The result was modern, cohesive, and visually interesting, with the curtains framing the window perfectly.
4. Installing Curtain Rods Step by Step
Installing the rod correctly is crucial — it ensures your curtains hang straight, move smoothly, and look polished. I remember my first attempt; I drilled the brackets too low, and my curtains ended up awkwardly above the floor.
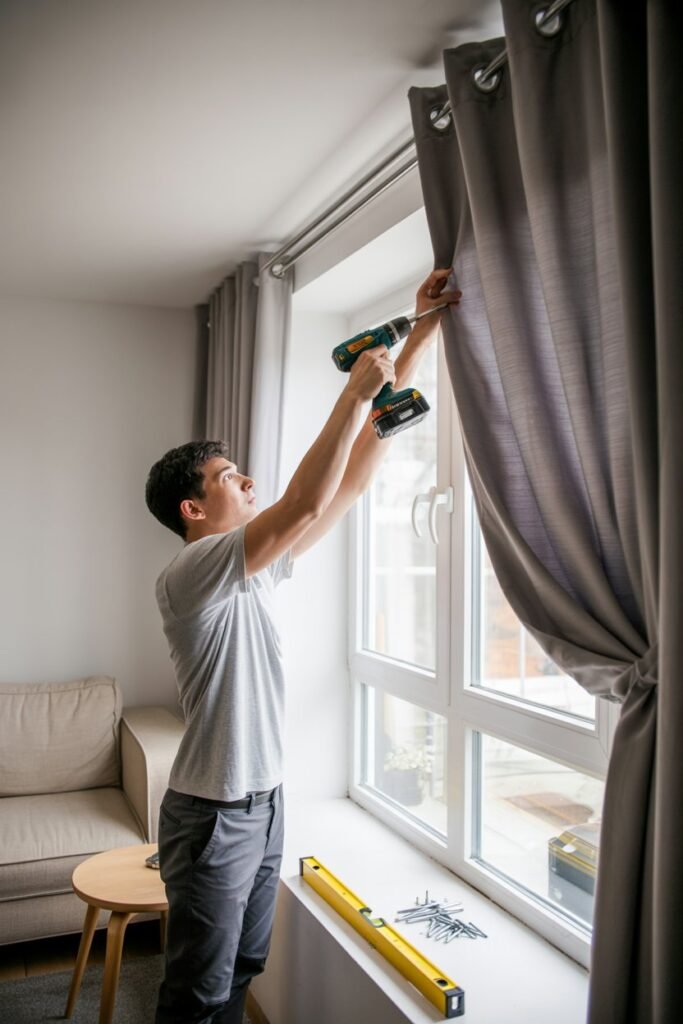
After some trial and error, I developed a step-by-step method that works every time.
How to Install
- Mark the Bracket Placement: Use a pencil and a level to mark where each bracket will go. Remember to place them 4–6 inches above the window frame and 6–12 inches beyond each side for a wider, more elegant look.
- Drill Pilot Holes: This prevents wood or drywall from splitting and ensures screws go in smoothly.
- Install Brackets: Use appropriate screws and anchors depending on your wall type (drywall, plaster, or concrete).
- Attach the Rod: Once brackets are secure, slide the rod into place. Check that it is level and sturdy.
Pro Tips
- For long or heavy curtains, use center brackets for additional support.
- Use a laser level for precision, especially with wide windows.
- Always test the rod’s stability by gently pulling before hanging the curtains.
Example: I installed a heavy velvet curtain in my bedroom using a center support bracket. It prevented sagging and made the drape look professional and polished.
5. Hanging and Adjusting the Panels
Once the rod is installed, the next step is hanging the curtains and adjusting them for perfect drape and proportion. This is where the room truly comes together.
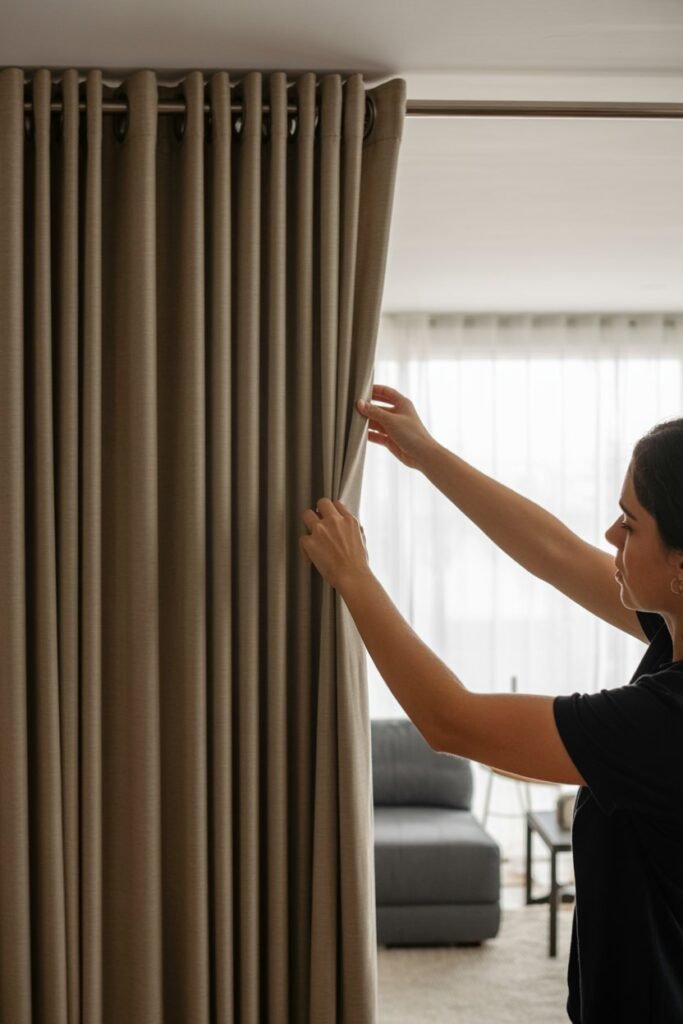
How to Hang
- Slide curtains onto the rod using grommets, tabs, or pleats.
- Even out the folds and ensure the curtain edges line up with the window frame.
- Adjust the length so they graze the floor or puddle slightly depending on the desired look.
Pro Tips
- When using sheers under heavier drapes, hang the sheer first and allow the heavier curtain to frame it.
- Step back and view the room from different angles to check for symmetry and proportion.
- If curtains are slightly too long, use discreet curtain weights or hemming tape to create a clean finish.
Example: In my living room, I layered sheer white panels under charcoal velvet curtains. Adjusting each panel so the folds fell naturally made the room look effortlessly elegant.
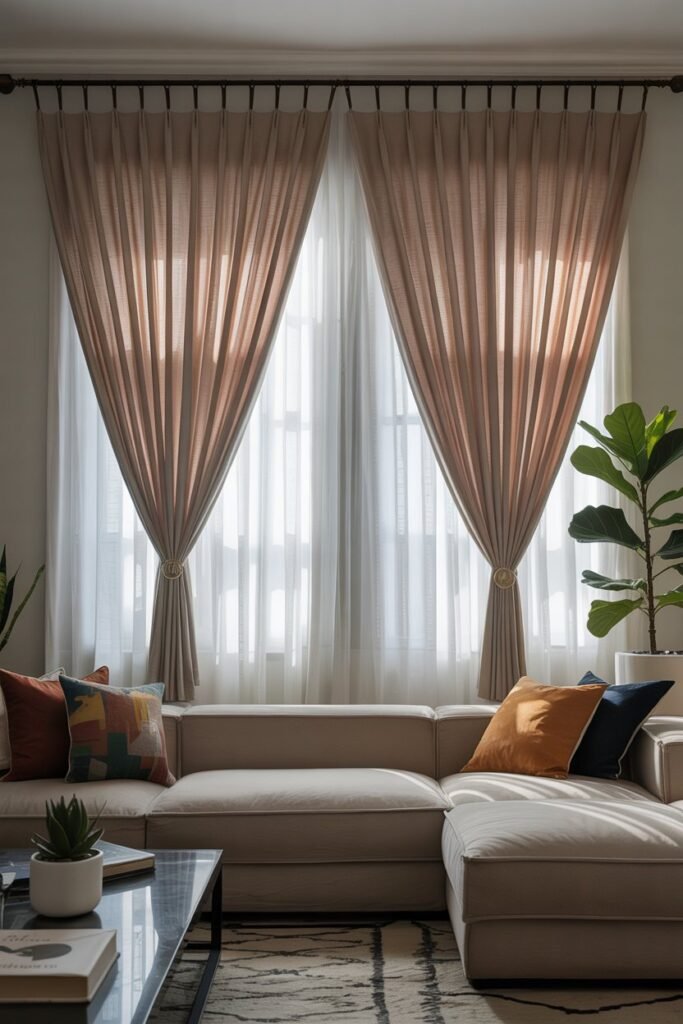
6. Styling Tips for a Polished Look
Curtains aren’t just functional; they’re an essential design element. How you style them can elevate the entire room.
Tips
- Layering: Combine sheers with heavier drapes for depth and versatility.
- Tiebacks and Holdbacks: Use decorative tiebacks to frame windows and create a more formal or cozy look.
- Symmetry: Ensure panels on either side of the window are equal in length and fullness for balance.
- Contrast and Coordination: Match curtain fabric or color with accent pillows or rugs for a cohesive design.
Example: I used gold rope tiebacks with soft linen curtains. The combination added a subtle, sophisticated elegance to my otherwise minimalist bedroom.
7. Layering Curtains for Depth
Layering is one of my favorite tricks. It adds dimension, texture, and visual interest. When I first tried layering curtains, I thought it would be complicated, but it’s actually simple.
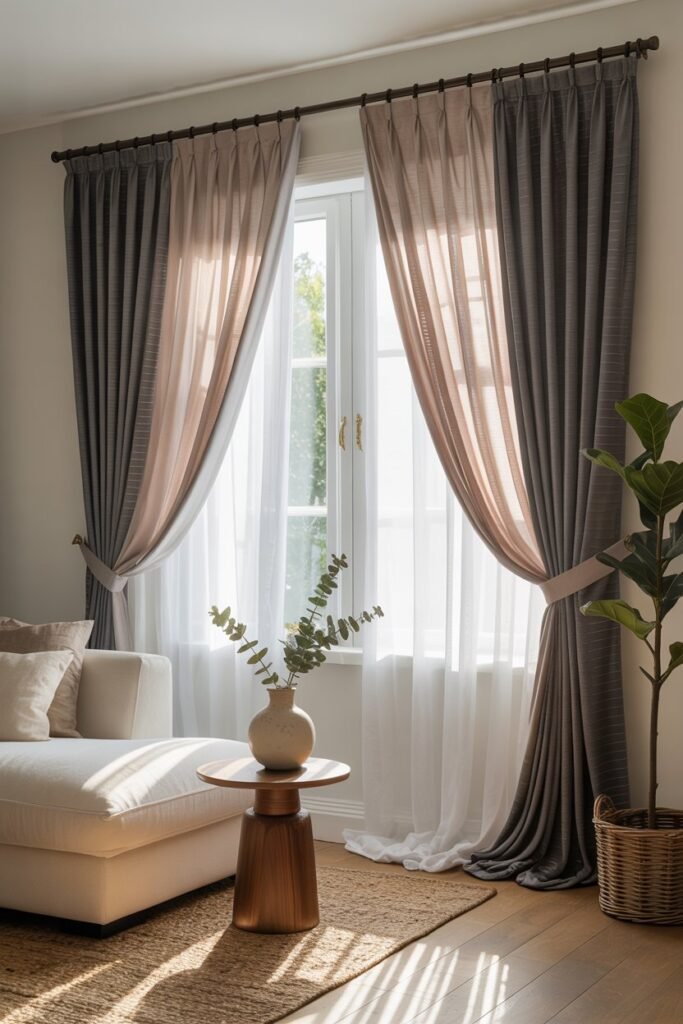
How to Layer
- Start with lightweight sheers closest to the window.
- Add your main drape on top of the sheers.
- Optionally, add a third layer like a patterned panel for extra texture.
Pro Tips
- Choose complementary fabrics and colors for layered panels.
- Use double or triple curtain rods to hang multiple layers without crowding the window.
- Layering works well in living rooms, bedrooms, and even kitchens for visual interest and light control.
Example: My living room has white sheers, gray linen curtains, and a patterned mustard accent panel. The layered colors and textures made the space rich and inviting, yet perfectly balanced.
8. Common Mistakes to Avoid
Even with careful planning, mistakes can happen. Here’s what I’ve learned from experience:
Mistakes
- Hanging the rod too low — makes ceilings feel shorter.
- Using panels that are too narrow — looks skimpy and unbalanced.
- Overstuffing the window with layers — can overwhelm the room.
- Ignoring symmetry — uneven panels create a chaotic visual effect.
How to Avoid
- Measure carefully and double-check placement before drilling.
- Follow the 1.5–3 times window width rule for fullness.
- Step back frequently during installation to ensure visual balance.
- Adjust folds and pleats for consistent drape.
Example: I once used curtains slightly too narrow for a large window. The imbalance distracted from the room’s design. Adding wider panels fixed the issue and instantly enhanced the polished, professional look.
FAQ Section
1. What’s the easiest way to hang curtains?
The easiest way is to measure your window, choose the right rod, and follow the 60-30-10 principle for color balance. Use brackets, install the rod above the window, and slide the curtains onto the rod.
2. How high should curtain rods be installed?
Ideally, 4–6 inches above the window frame. This makes ceilings feel taller and gives a polished, professional look.
3. How wide should curtains be?
Curtains should be 1.5–3 times the width of the window for fullness. Wide windows may need multiple panels for balance and easier operation.
4. Can I layer curtains?
Yes! Layer lightweight sheers under heavier drapes to add depth, texture, and versatility, controlling both light and privacy.
5. What common mistakes should I avoid?
Avoid hanging rods too low, using curtains that are too narrow, overstuffing layers, and ignoring symmetry. Always measure carefully and step back to check balance.
Conclusion
Hanging curtains correctly is more than just a practical task — it’s a design opportunity. With the right rod, accurate measurements, and a careful selection of styles and fabrics, your curtains can frame your windows beautifully, enhance your room’s aesthetics, and create a polished, professional look.
Layering sheers and drapes, adding tiebacks, and choosing complementary textures and colors will elevate your space further.
By avoiding common mistakes and applying these techniques, even a beginner can achieve elegant, well-styled windows that enhance the entire room.